Solo Travel Safety Plan: A Repeatable Checklist
Solo Travel Safety Without the Stress: Build a Repeatable Plan
Solo travel can feel freeing and empowering, but safety improves dramatically with a repeatable plan. The goal isn’t to eliminate risk—it’s to reduce avoidable problems with simple habits you can run on autopilot. The sections below move in the same order most trips unfold: planning at home, arriving, and staying sharp day to day. When you want a structured, save-to-your-phone format, you can also use a compact checklist to make the basics automatic.
Start with a personal risk snapshot
Before booking tours or packing gear, take five minutes to define what “safe enough” looks like for this specific trip. Decide your comfort boundaries (neighborhoods, transit types, how late you want to be out, and whether nightlife or remote hikes are on the table). Matching the destination to your experience level matters too—first solo trips often go smoother where transit is reliable, signage is clear, and tourist infrastructure is strong.
Also consider identity and context factors that change real-world risk: language ability, visible valuables, mobility needs, and medication access. Build mitigations early (translation apps, accessible lodging, a doctor’s note for prescriptions, etc.). Finally, set one simple decision rule for moments when you’re tired or pressured: if unsure, pause, relocate to a brighter/busier spot, and reassess.
| Scenario | Early warning signs | Default safeguard |
|---|---|---|
| Arrival after dark | Unclear directions, empty streets, aggressive offers | Pre-book transport, confirm address offline, walk only on main streets |
| Using ATMs | People lingering nearby, dim lighting, skimmers | Use bank ATMs inside, cover keypad, withdraw once for the day |
| Crowded attractions | Bumping, distractions, groups pressing close | Front-wear bag, keep phone tethered, separate cash/cards |
| Bars/nightlife | Over-friendly strangers, unattended drink, pressure to relocate | Set drink limit, watch preparation, leave with your own transport plan |
| Day trips/remote areas | No signal, few people, unclear trail/route | Share itinerary, bring power bank, set turnaround time |
Pre-trip security planning that takes 30 minutes
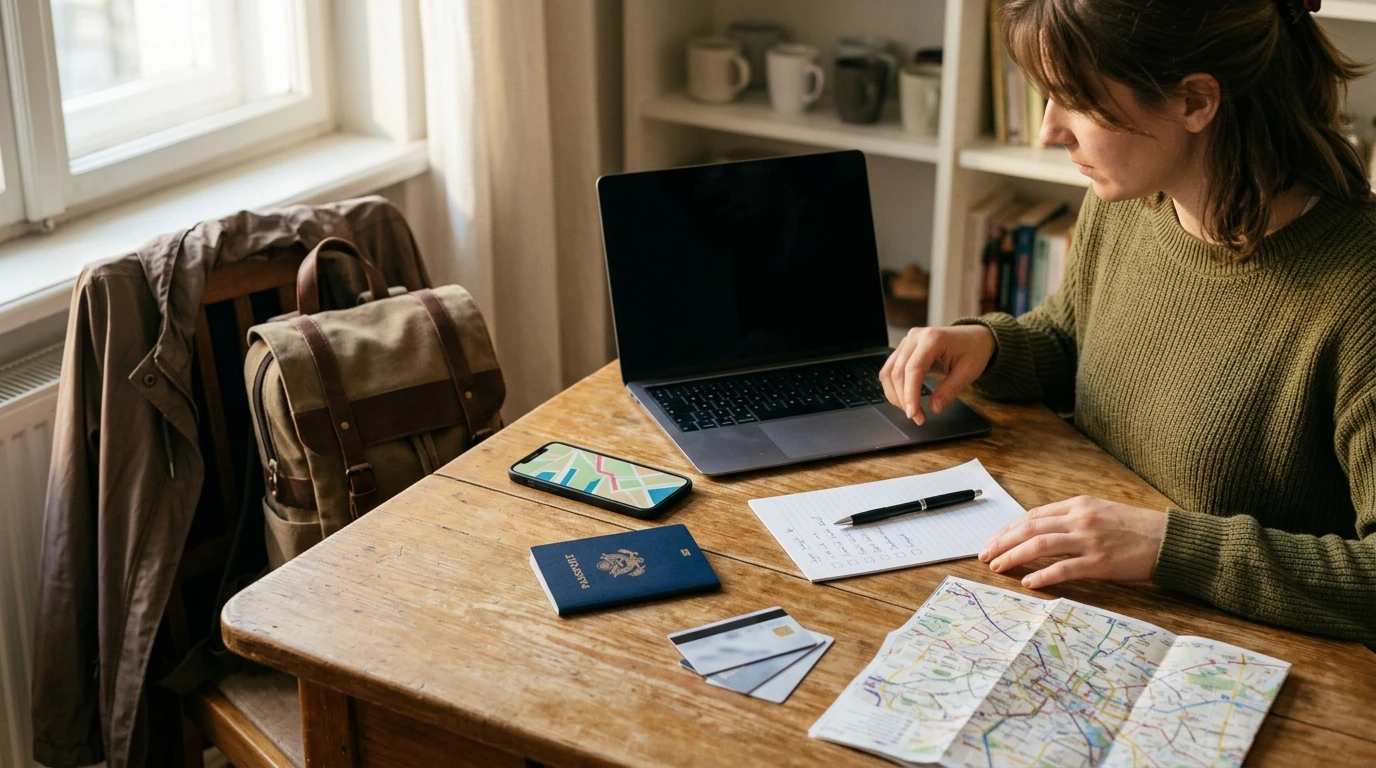
Start with a “grab-and-go” folder: passport/ID copies, visas, insurance, key reservations, and emergency contacts stored in encrypted cloud storage plus offline (saved on your phone and a printed copy). Next, create a communication rhythm: one trusted person, a check-in schedule, and a simple escalation plan if you miss a check-in (who calls the hotel, when to contact local authorities, and when to involve an embassy/consulate).
Check current advisories and local conditions—weather, demonstrations, common scams, and transit disruptions. The U.S. Department of State and the CDC are reliable places to start for safety and health updates: U.S. Department of State travel resources and CDC Travelers’ Health.
Finally, pre-map your first 24 hours: your route from airport/station to lodging, the nearest pharmacy, a grocery store, and a backup meal option so you’re not wandering hungry at night. Add money redundancy: two payment methods stored separately plus a small amount of emergency cash in local currency.
Choose lodging with safety in mind (not just reviews)
Great reviews don’t always equal a great location. Prioritize proximity to transit, well-lit streets, and routes that don’t require isolated shortcuts. Look for operational signals: staffed reception, secure entry, lockers/safes, clear emergency exits, and recent comments about the neighborhood vibe at night.
If you can request room placement, aim for a higher floor (reduces opportunistic entry) and avoid rooms with easy access from public terraces, alley-facing balconies, or ground-level doors. When you arrive, do a two-minute scan: confirm locks, test the deadbolt/chain, identify exits, and note the nearest 24-hour help point (front desk, lobby security, or an adjacent staffed business).
Transit and arrival: reduce risk during the most vulnerable window
Arrival is when you’re most distracted: you’re tired, carrying luggage, and learning a new environment. Before landing/arriving, screenshot confirmations and addresses, and learn the local name of your neighborhood plus a nearby landmark. Avoid improvising with bags in unfamiliar places—pre-book reputable rides, use official taxi stands, or choose well-reviewed airport transfers.
Daily habits that prevent most problems
Digital privacy and scams: protect accounts and information
If something goes wrong: a calm response plan
A ready-to-use checklist for confident solo travel
For travelers who prefer a structured, printable plan, a compact checklist prevents missed steps during packing, transit days, and busy sightseeing. If you want a phone-friendly format you can save and reuse trip after trip, see: Solo Traveler’s Guide to Staying Safe (digital PDF checklist).
Pairing safety planning with simple money structure can also reduce stress on the road—especially when you’re building redundancy with cards, emergency cash, and daily spending limits. A practical companion resource is: Budgeting Like a Pro: Complete eBook.
FAQ
What are the most important safety steps for a first-time solo traveler?
Lock in your first 24-hour plan (arrival route, lodging check-in, food backup), pre-book reputable transport, and set up money redundancy (two payment methods stored separately). Add strong phone security and a simple check-in system with one trusted person.
Should a solo traveler carry their passport all day?
Requirements vary by country, so follow local rules and keep a backup copy handy. In many places, carrying a copy or alternate ID is sufficient while the passport stays secured in your accommodation, but choose the option that’s safest for your destination and lodging setup.
How can solo travelers avoid common scams without being overly suspicious?
Default to verification: use official counters and in-app confirmations, and be cautious of pressure to relocate or “act now.” Keep valuables out of sight, and if something feels off, step into a staffed place to pause and reassess.










Leave a comment